Address Autocomplete gets its address suggestions from Google, so it needs a Google Maps API key with two APIs turned on: Places API (New) and the Maps JavaScript API. These steps walk you through creating one in Google Cloud and adding it to your site.
Sign in to Google Cloud
Go to the Google Cloud console and sign in with your Google account. If you’re new to Google Cloud, it asks you to set up an account first.
Create a project
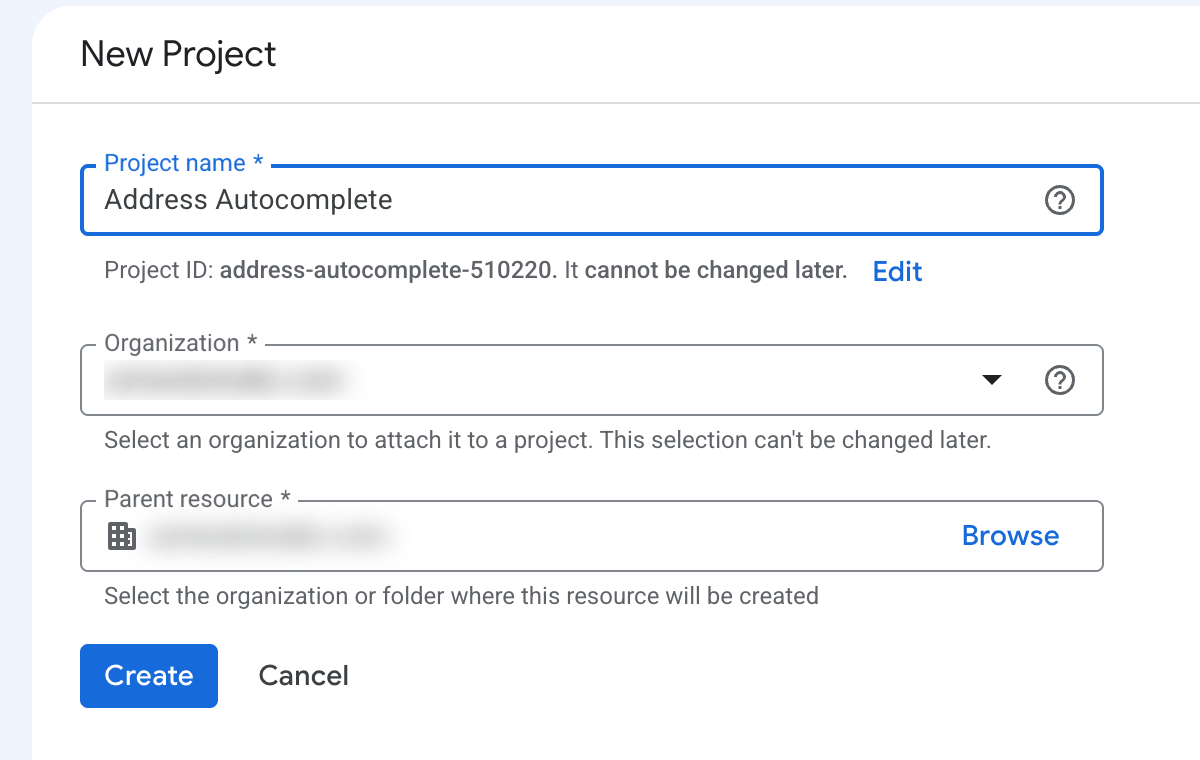
Open the project list at the top of the page and click New project. Give it a name like “Address Autocomplete”, then click Create.
Link a billing account
Google asks for billing details before you can use its maps, although you’re unlikely to be charged. Every account gets 10,000 free autocomplete requests a month, which is more than most sites will ever use. More on what Google charges
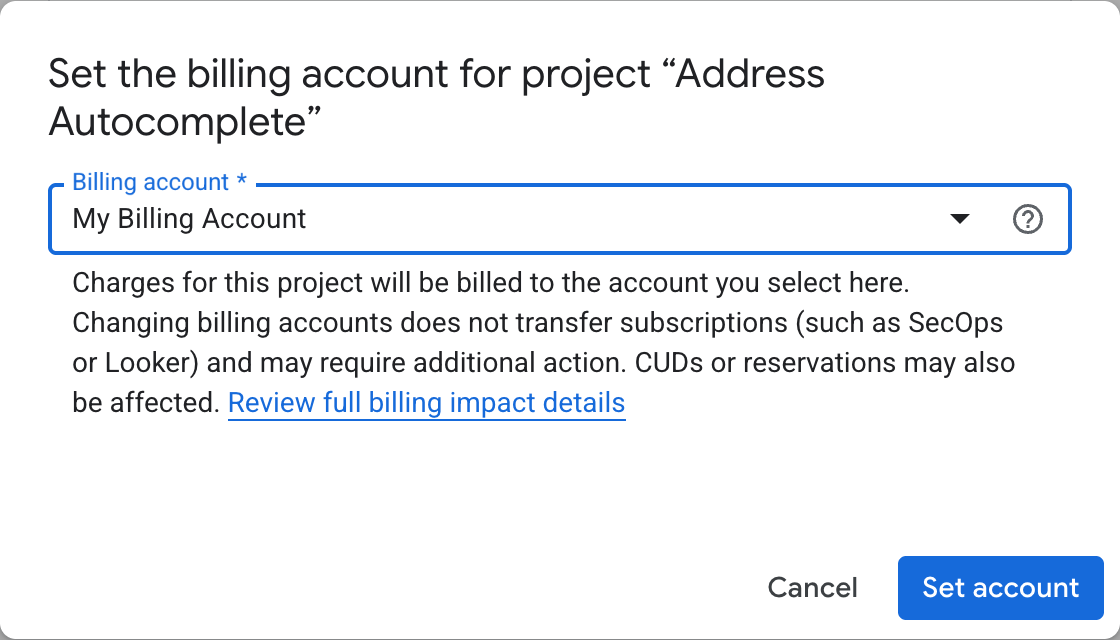
With your new project selected, open the menu at the top left and choose Billing. Click Link a billing account, choose your billing account and click Set account. If you don’t have one yet, Google walks you through creating it.
Turn on the APIs
Open the menu at the top left and go to APIs & Services > Library.
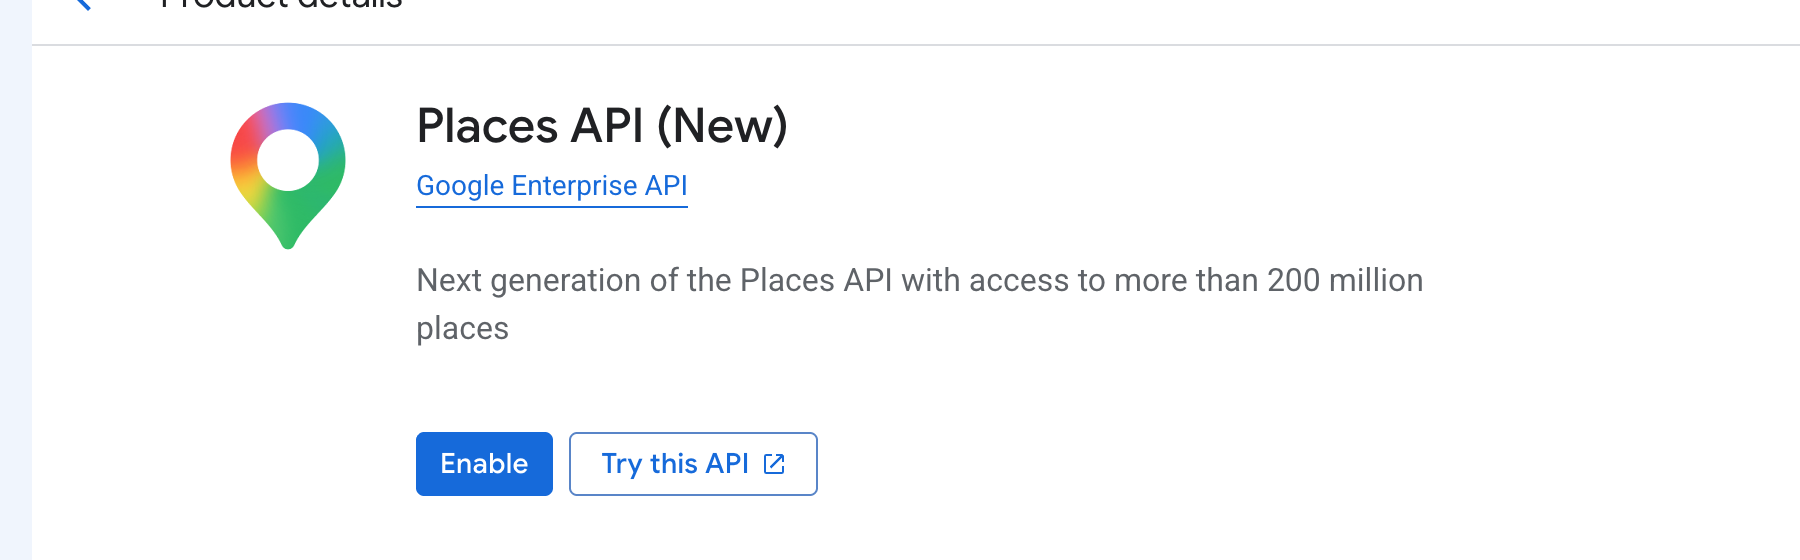
- Search for Places API (New), open it and click Enable.
- Search for the Maps JavaScript API, open it and click Enable.
If your project is older and already uses the legacy Places API, that works too. Legacy vs New explains the difference and how to choose between them in the plugin.
Create the key
Go to APIs & Services > Credentials, click Create credentials and choose API key. Google opens a panel where you set the key up before it’s created:
- Give the key a name, like “Address Autocomplete”.
- Under Select API restrictions, tick the Maps JavaScript API and Places API (New), then click OK.
- Under Application restrictions, choose Websites.
- Click Add and enter your site as *.yourdomain.com/*, then click Done. Add it again as yourdomain.com/*. The two forms cover your site with and without “www”, so other sites can’t use your key.
- Click Create.
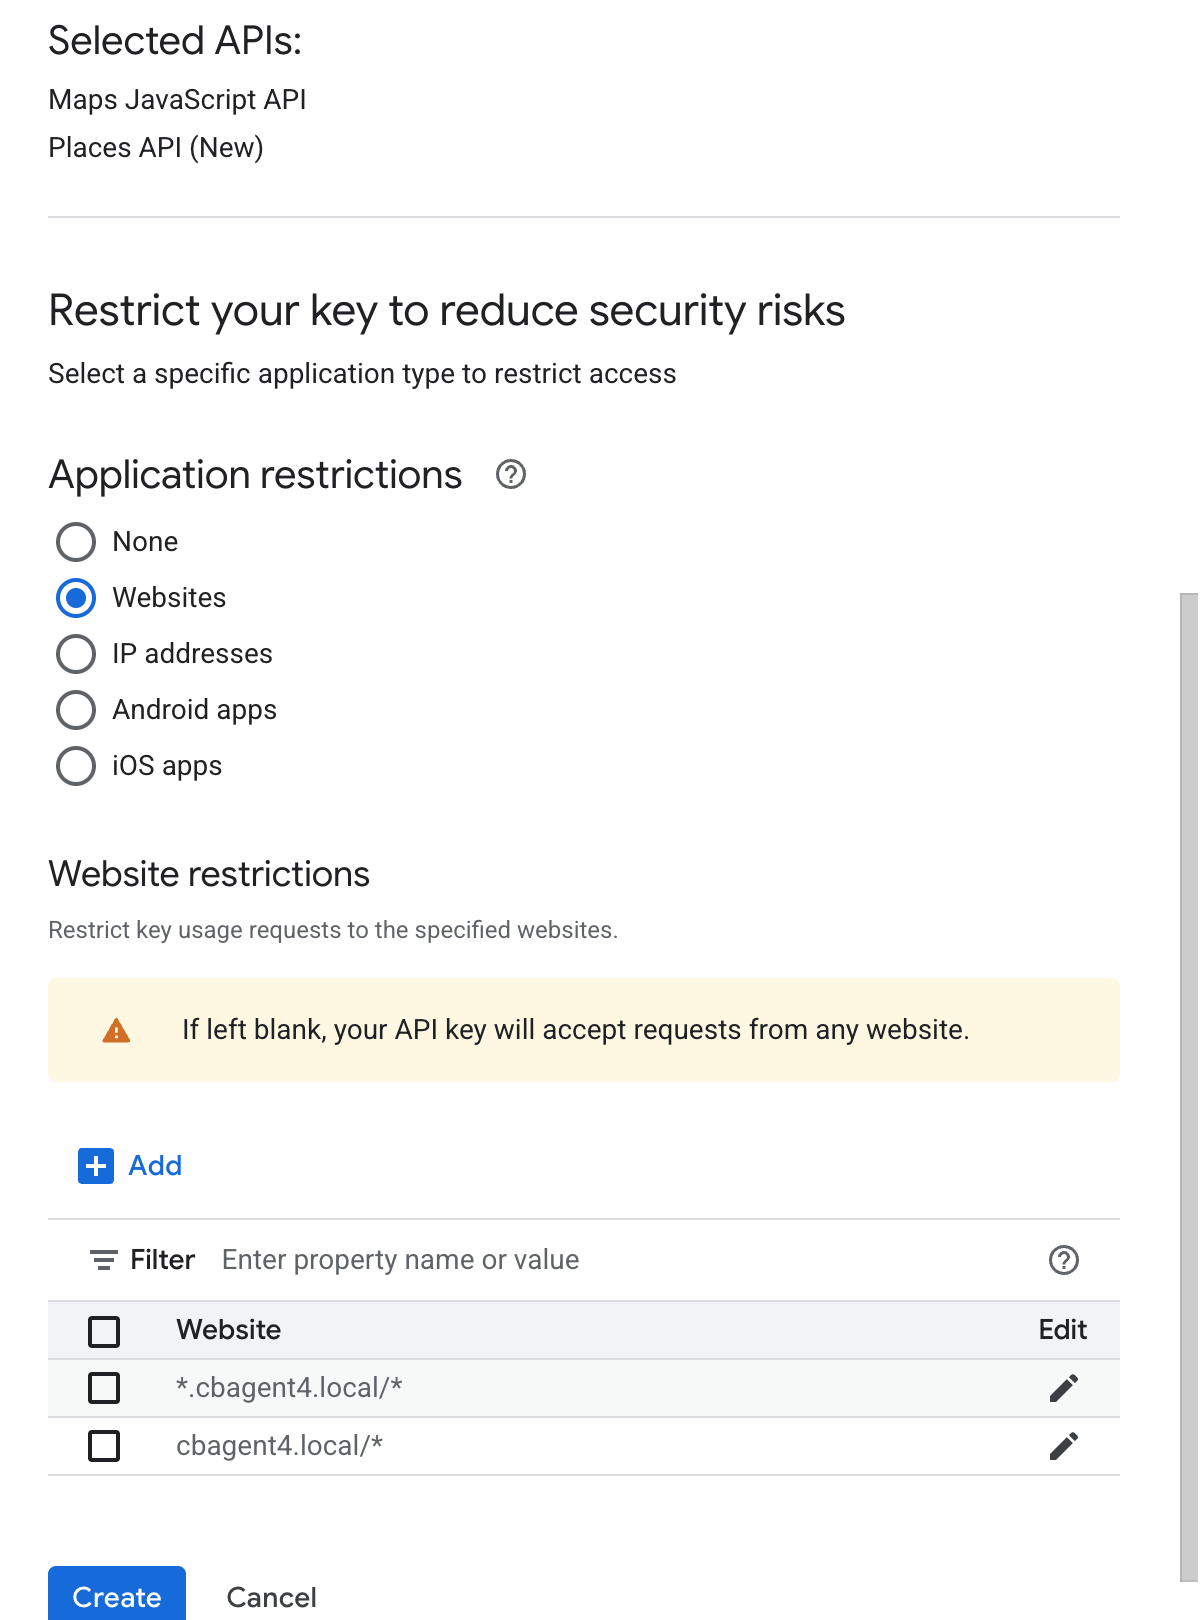
Google shows your new key, so click the copy icon next to it.
Add the key to your site
The first time you turn on Address Autocomplete, the setup wizard asks for the key.
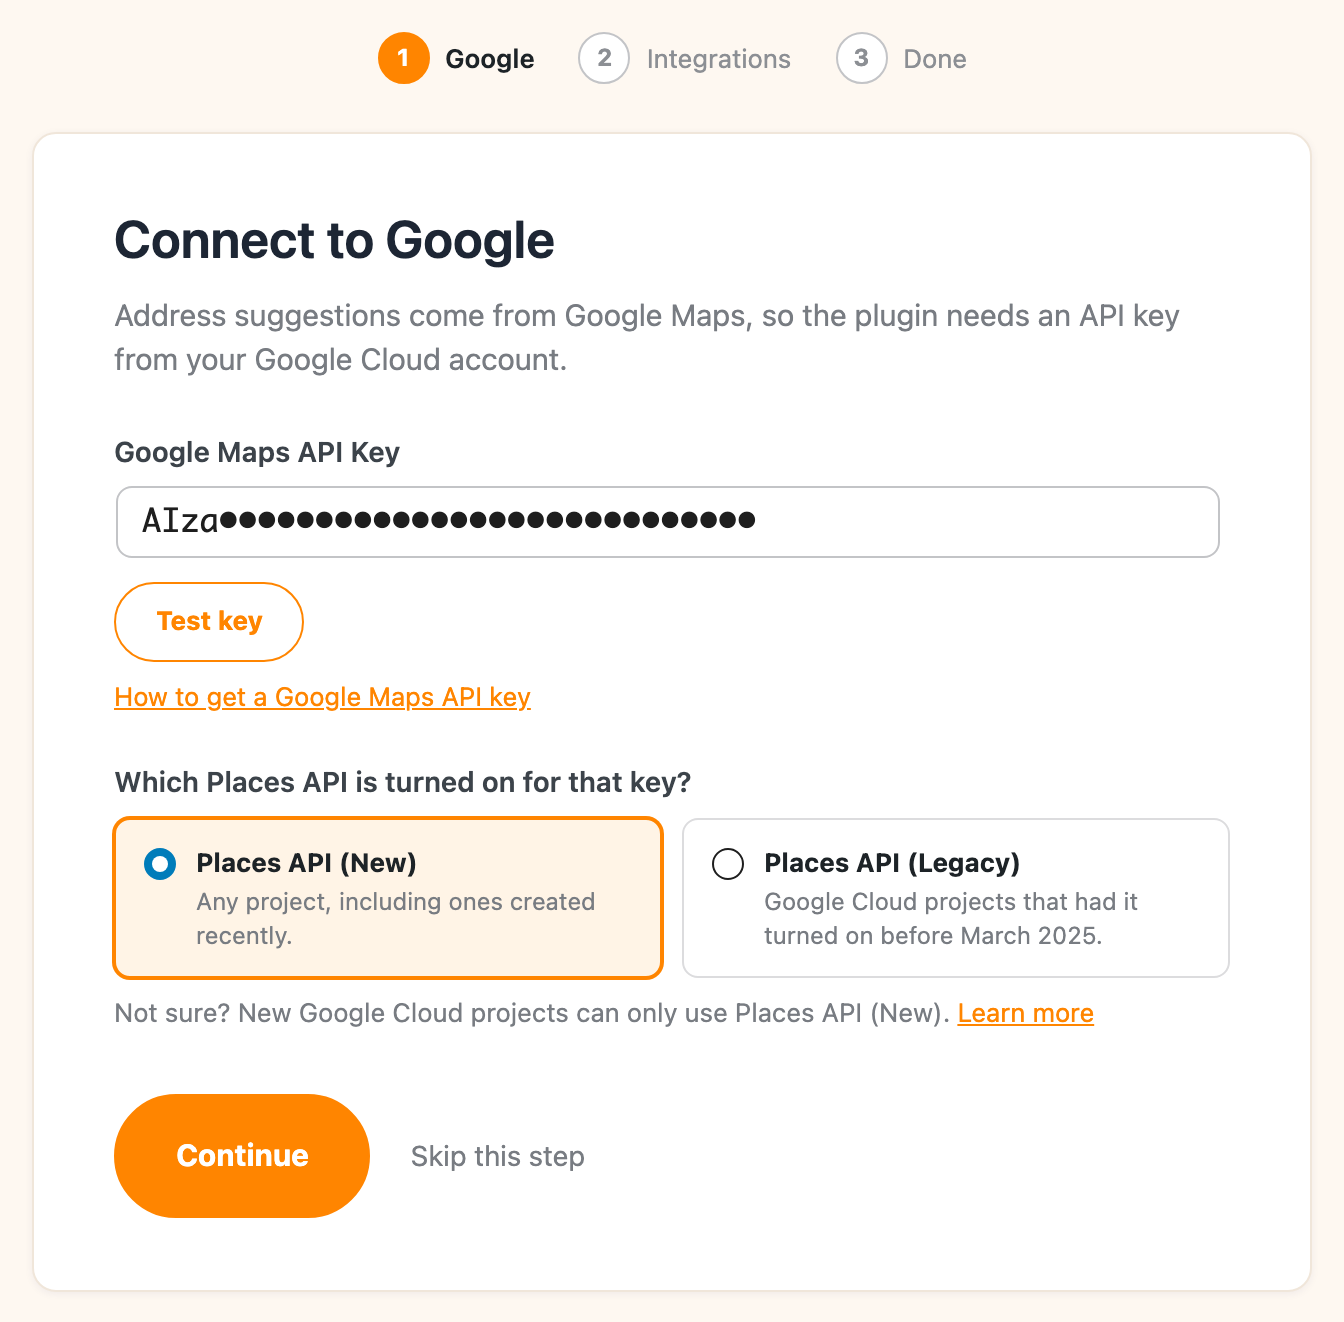
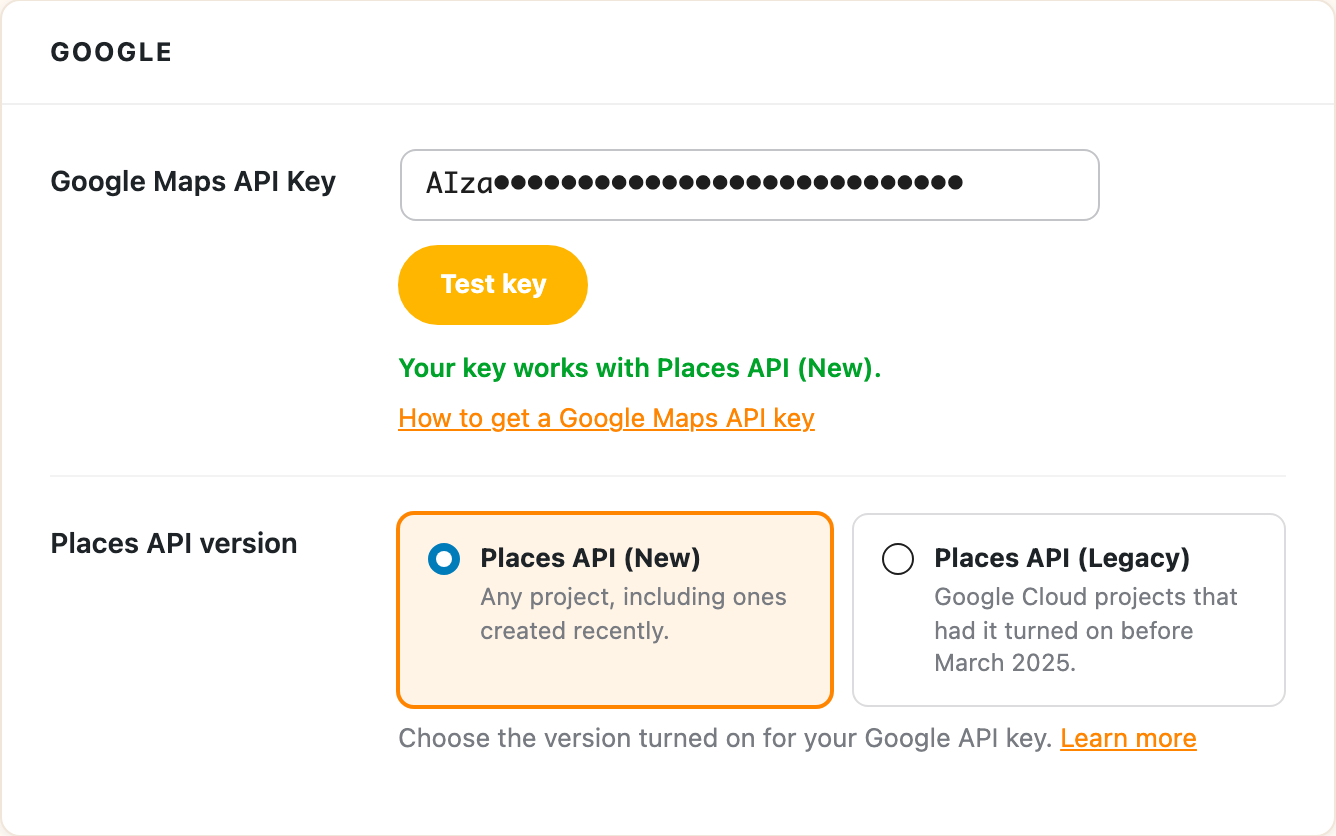
You can also add it later: in your WordPress admin, go to Settings > Address Autocomplete, open the Settings tab and paste it into Google Maps API Key.
Click Test key, and the plugin checks the key with Google and tells you whether it works. If something’s wrong, like billing that isn’t set up, an API that isn’t turned on, or a website restriction that doesn’t include your site, it tells you what to fix. Once the test passes, click Continue in the wizard, or save your settings.