Address Autocomplete Premium sets itself up on your WooCommerce checkout and My Account pages with one switch each, for both the billing and shipping address. It works on the classic checkout and the Checkout block.
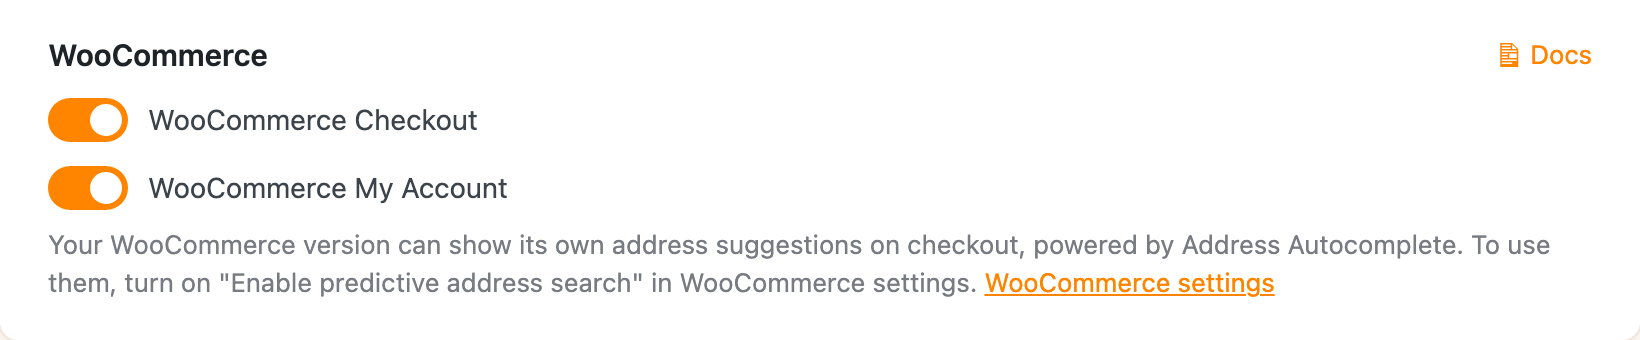
- In your WordPress admin, go to Settings > Address Autocomplete and open the Integrations tab.
- Under WooCommerce, turn on WooCommerce Checkout, WooCommerce My Account, or both.
- Click Save Changes.
When a customer picks an address, the plugin fills in the street address, address line 2, city, state, postcode and country. The state is filled with its short code, like “CA”, to match WooCommerce’s state list.
Countries
If your store only sells to 5 countries or fewer (WooCommerce > Settings > General > Selling location(s)), suggestions are limited to those countries. Once the customer chooses a country at checkout, suggestions only come from that country.
WooCommerce’s own address suggestions
Newer versions of WooCommerce have their own address suggestions on checkout, and Address Autocomplete can power them with Google’s data. You’ll see a note about it under WooCommerce on the Integrations tab.
To use them, keep WooCommerce Checkout turned on here, then go to WooCommerce > Settings > General and tick Enable predictive address search. If you see a Preferred address autocomplete provider setting, choose Address Autocomplete (Google).

With that on, WooCommerce shows the suggestion list on checkout and Address Autocomplete supplies the addresses. My Account keeps using Address Autocomplete’s own suggestions.
Changing the setup
The integration adds four instances to the Instances tab: WooCommerce Billing, WooCommerce Shipping, and a Block version of each. They work without any changes, but if your checkout has been customized and the defaults don’t fit, you can edit them like any other instance.
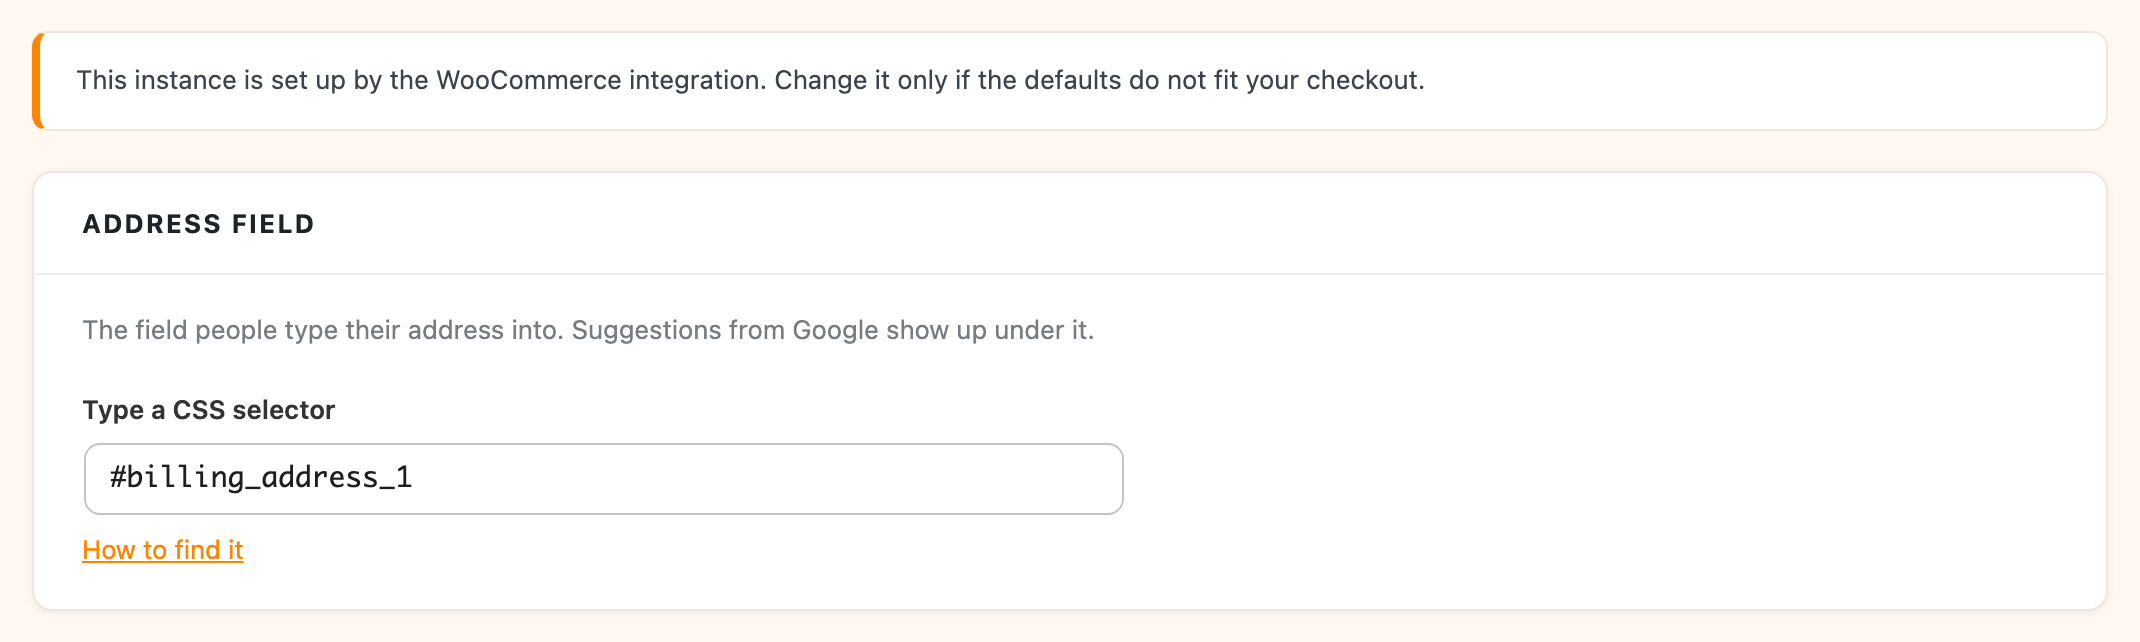
Once you change one, it no longer picks up updates to the integration. Reset to defaults in the instance’s … menu puts it back.