An instance is one form that gets address autocomplete: the field people type their address into, and the fields that get filled in when they pick a suggestion. The field picker finds those fields on your form for you, so there are no CSS selectors to look up.
Before you start, add your Google Maps API key on the Settings tab and click Test key to make sure it works. The setup wizard asks for it the first time you turn on the plugin.
Pick the fields on your form
- In your WordPress admin, go to Settings > Address Autocomplete and open the Instances tab.
- Under Address field, choose the page with your form, then click Pick fields. Your page opens in a new tab.
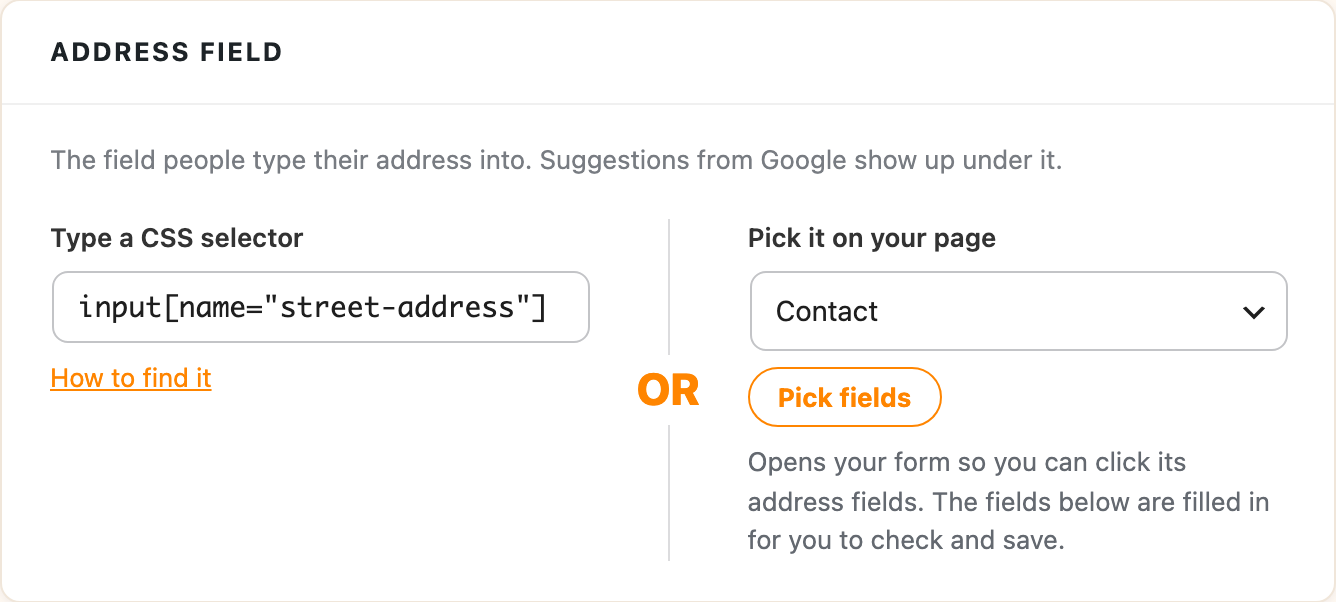
- The picker looks for the address fields on your form and puts a green tag on each one it finds, like “Street address”, “City” and “Country”.
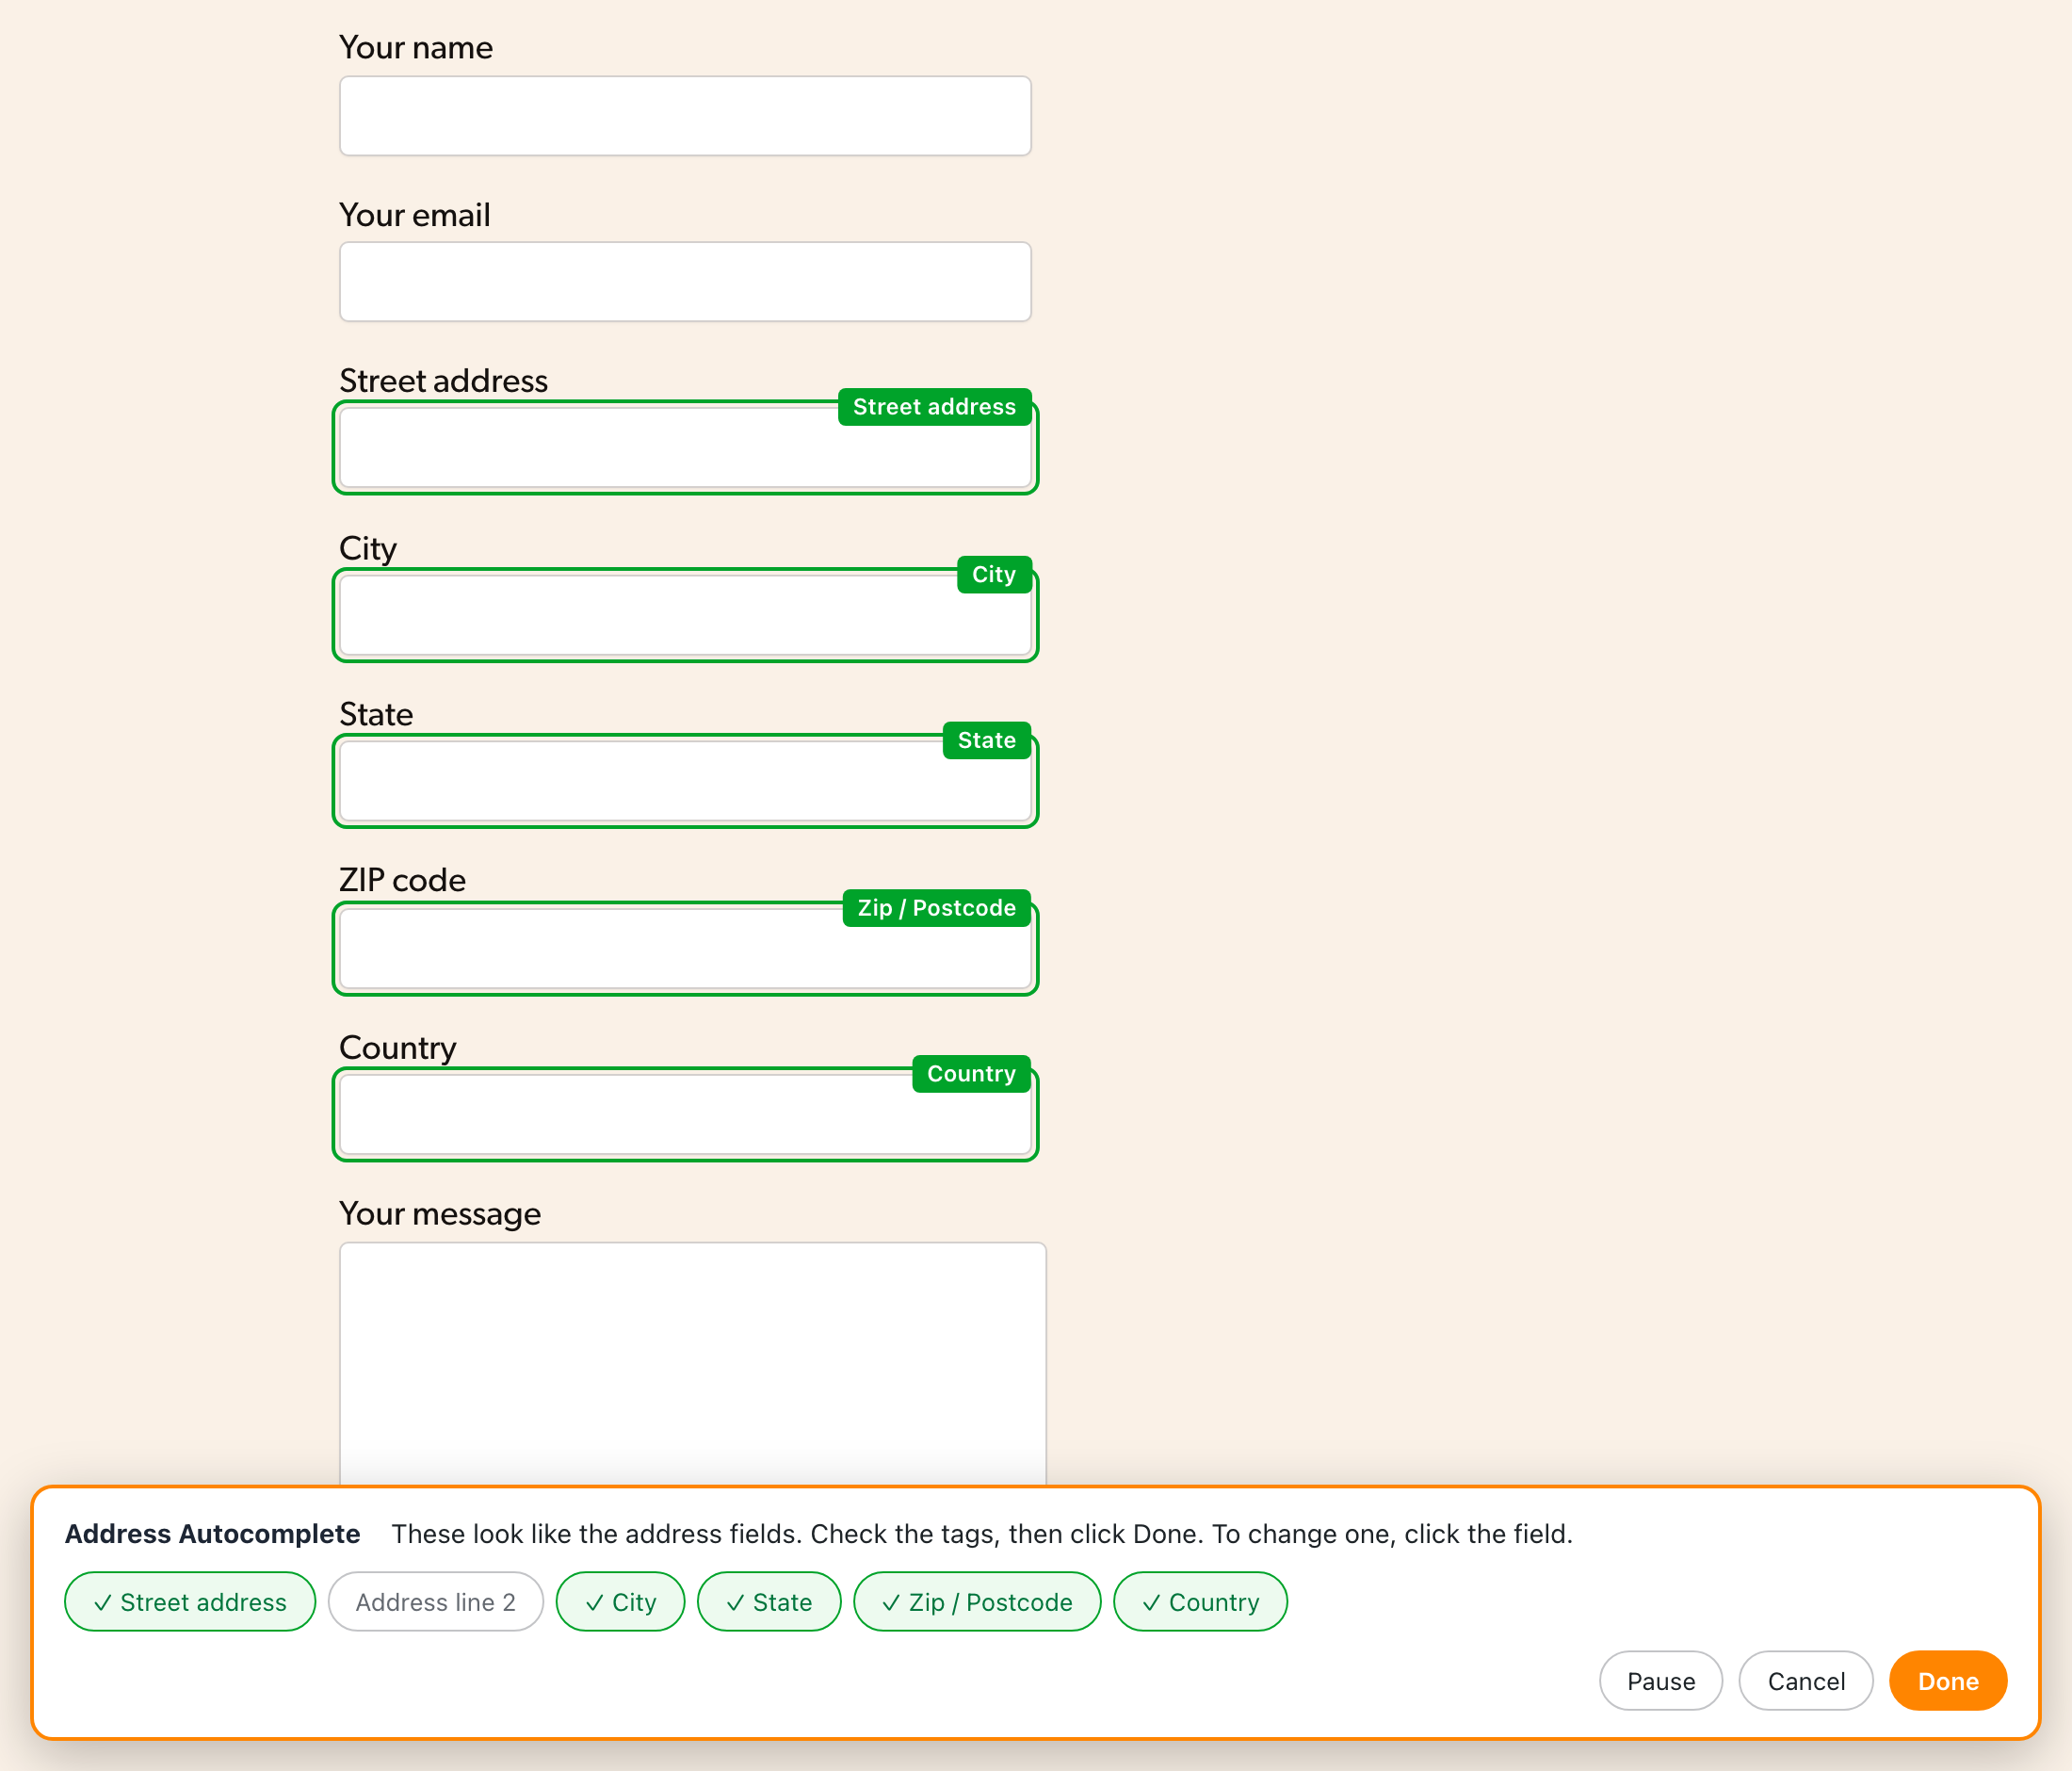
- Check the tags, and if one is wrong or missing, click the field on your form and choose what it’s for. The buttons at the bottom of the page show which parts of the address have a field.
- Click Done, and the picker tab closes while the setup on the Instances tab fills in with the fields you picked.
- Look over the fields, then click Save Changes.
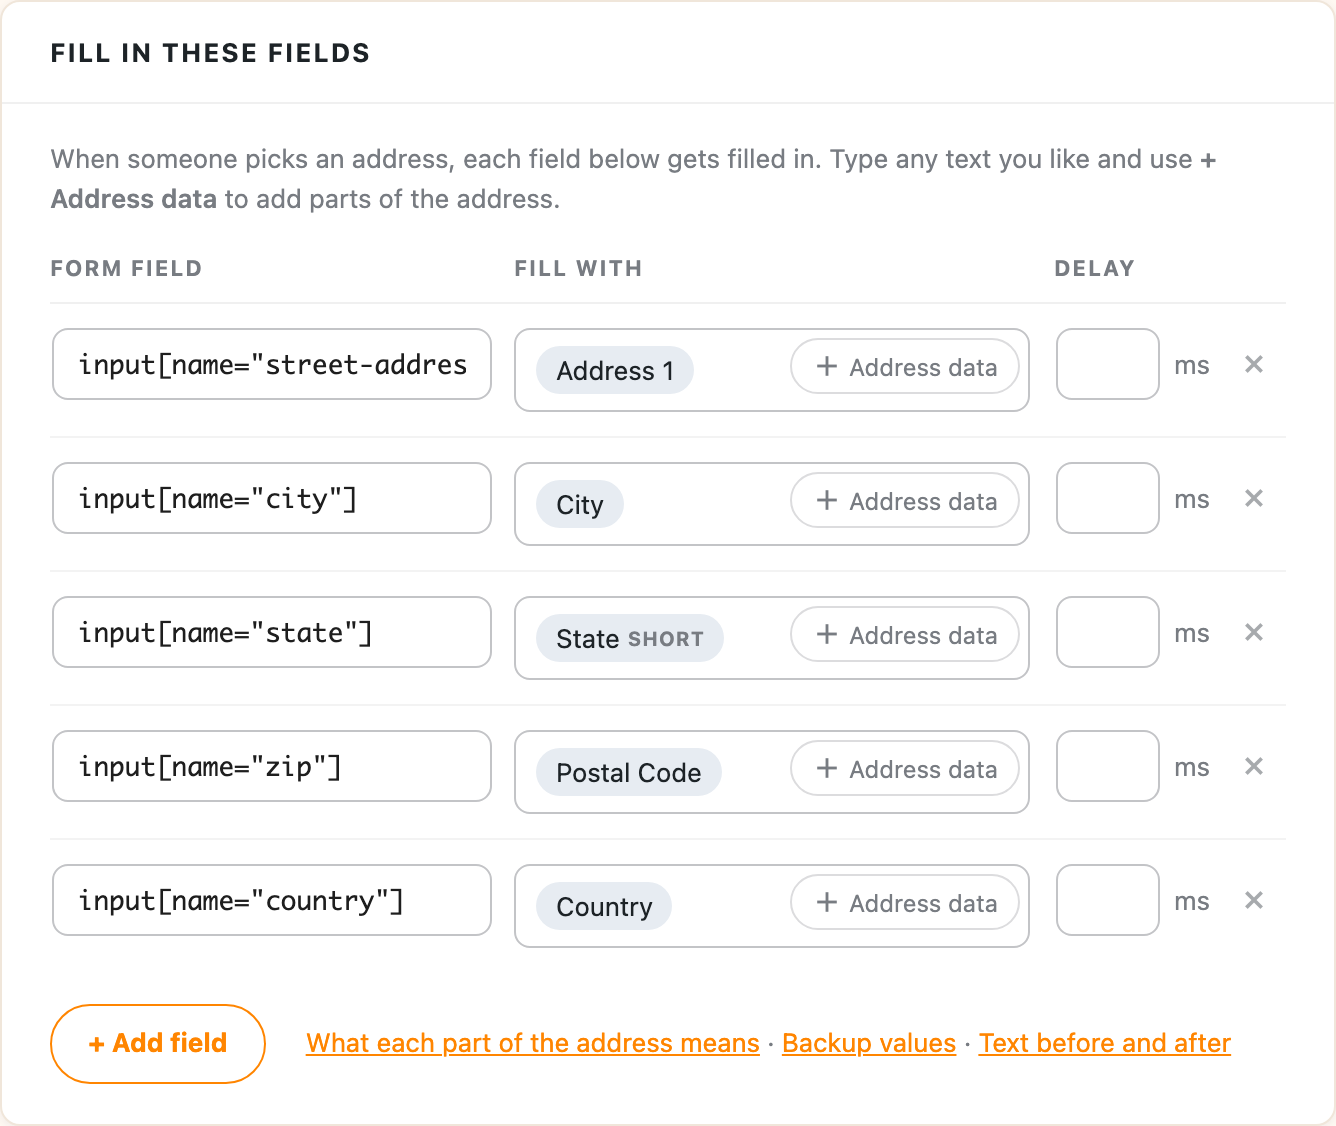
Now type the start of an address into your form to see the suggestions.
If your browser blocks the new tab, allow pop-ups for your site and click Pick fields again. If a field is hidden until someone clicks something on your form, click Pause in the picker, open that part of the form, then click Resume and carry on picking.
Change what each field gets
Each field in the setup has a template for what it gets filled with. Click + Address data to add a part of the address, like the city or postal code, and type any other text you want around it. Available address fields lists every part you can use.
If you’d rather point the plugin at your fields by hand, you can type a CSS selector into any field instead. Finding your CSS selectors shows how.
Choose where it runs
Under Where it runs you can limit the instance:
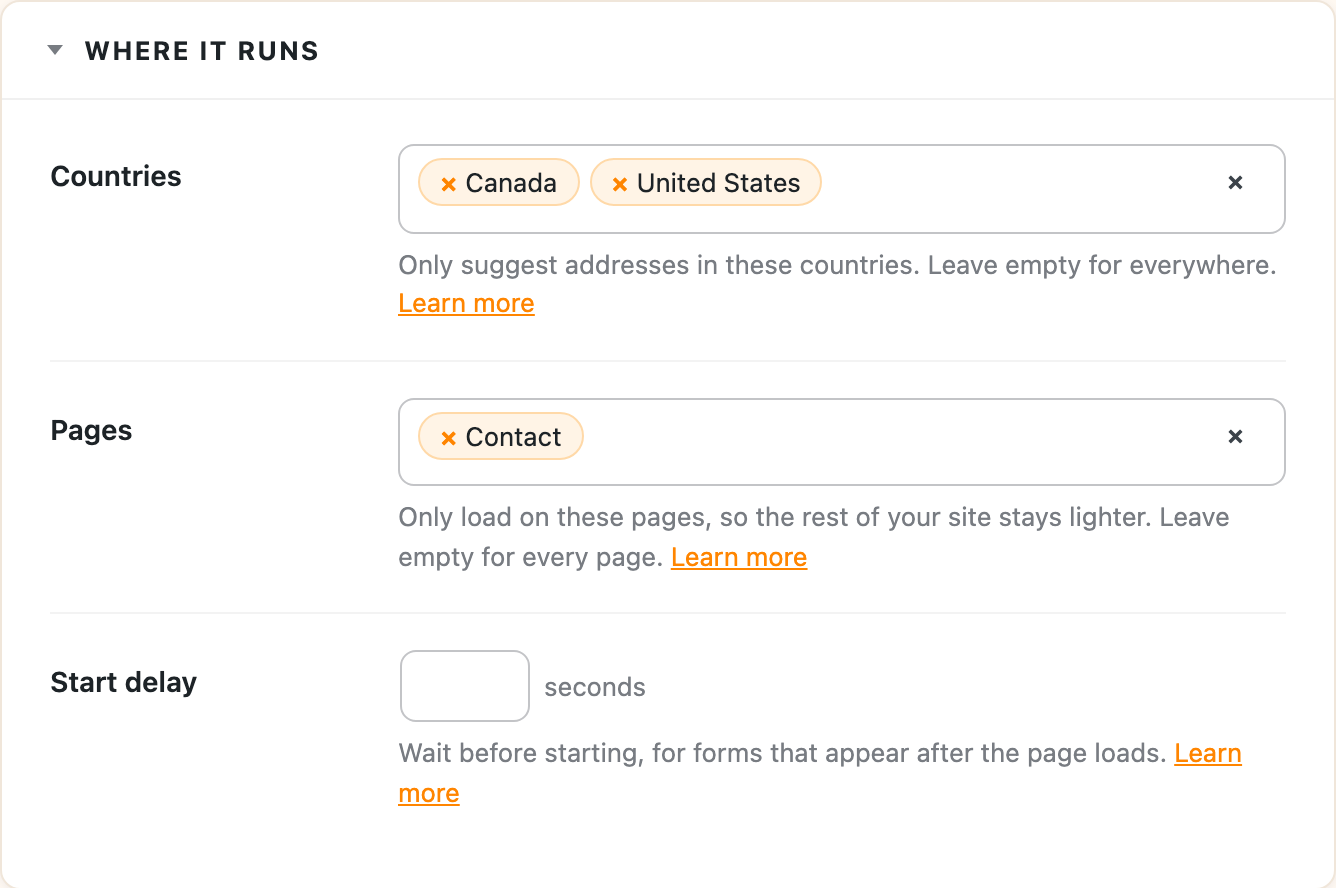
- Countries only suggests addresses in the countries you choose. Leave it empty to allow everywhere. More on country restrictions
- Pages only loads the autocomplete on the pages you choose, so the rest of your site doesn’t load Google’s script. More on page restrictions
More than one form
The free version sets up one instance. Address Autocomplete Premium lets you add as many as you need, each with its own fields, countries and pages, and it sets up WooCommerce, Gravity Forms and other plugins in one click. Setting up multiple instances